Building a DIY metal detector at home is a great way for electronics fans to learn about transistor circuits. This guide will show you how to make a metal detector using transistors. These components are key in today’s electronics.
The metal detector we’ll make can find coins up to three to four inches deep. It can also spot bigger items like soda cans at six inches. It runs on two 9V batteries, which use about 9 mA at 18 VDC. This makes it efficient and helps the batteries last longer.
With the right tools and parts, anyone can start exploring metal detection. We’ll focus on using easy-to-find components, like a search coil made from 22 turns of magnet wire. This project is a great way to learn about transistor technology in action.
Also, readers should check out a guide on building a simple transistor-based LED. It can help you understand circuit design better. This knowledge can help you with this project and encourage more experimenting.
Key Takeaways
- Understand the basics of metal detection technology and its principles.
- Utilize transistors like the 9012 and 9018 for building a high-performance detector.
- Construct a search coil successfully to achieve maximum detection depth.
- Learn about circuit design with passive components for enhanced functionality.
- Engage in troubleshooting techniques for effective problem resolution.
- Implement safety precautions to ensure a secure building process.
Understanding the Basics of Metal Detectors
Metal detection technology is key in many areas, like treasure hunting and security. Knowing how metal detectors work helps users get the most out of them. This part covers what a metal detector is, the different kinds, and how they function.
What is a Metal Detector?
A metal detector is a tool that finds metal objects hidden underground. It uses electromagnetic fields to spot metals. The type of metal detector you use can affect how well it works.
Types of Metal Detectors
There are many types of metal detectors, each with its own way of working:
- Beat Frequency Oscillator (BFO): This method uses two radio frequencies close together. While BFO is less common in serious use, it’s still found in cheap handheld and toy detectors.
- Pulse Induction (PI): PI is great for finding deep targets like gold nuggets. It sends strong pulses to the coil.
- Very Low Frequency (VLF): VLF detectors work at lower frequencies and are good at finding small metals. They help tell different metals apart.
How Metal Detectors Work
To use metal detectors well, you need to know how they work. They use electromagnetic induction. The coil creates a field that interacts with metal objects.
For example, some detectors have a 100mm coil with 12 to 20 turns and work at about 200kHz. A Faraday Shield around the coil helps reduce ground effects. BFO detectors can even spot small changes in frequency, like a few cycles at 150Hz. To find deeper, they use strong energy to interact with buried metals.
In short, metal detection technology and its types help find hidden metals. Knowing how they work makes searching more successful.
Introduction to Transistors in Electronics
Transistors are key in electronics, used in many devices like metal detectors. They are vital for boosting and switching electronic signals. This makes them crucial in creating transistor circuits for complex designs, especially for detecting metal signals.
What are Transistors?
Transistors are made from semiconductor materials and control electrical current. They can switch or amplify signals, helping designers manage signal strength and direction. This makes transistors used in electronics very useful, especially in devices needing precise signal control.
Types of Transistors Used
There are different types of transistors used in metal detectors. The most common include:
- Bipolar Junction Transistors (BJT): Such as the BC560C and BD911, these operate with both electron and hole charge carriers.
- Field Effect Transistors (FET): For instance, BF245, these are voltage-controlled devices that utilize electric fields to control the current flow.
Each type has its own role in transistor circuits, improving the device’s efficiency and performance.
The Role of Transistors in Circuits
In metal detectors, transistors are crucial for several functions. They switch signals on and off and amplify audio feedback. They also work with integrated circuits to manage signals effectively. For example, a 555 Timer IC with transistors creates a reliable clocking signal for accurate metal detection.
Using new components in transistor circuits is very important. It ensures the best performance and reduces failure risks. Proper installation and soldering are key to avoid problems like capacitance and inductance that can affect performance.
Gather the Required Materials and Tools
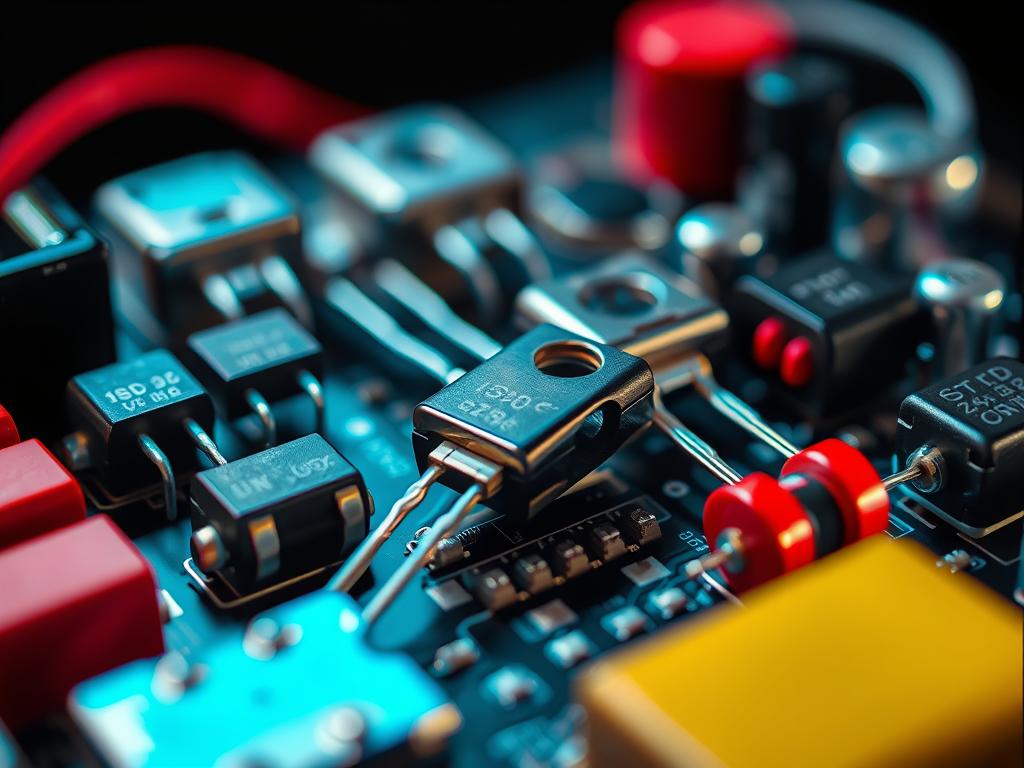
Building a homemade metal detector needs careful picking of materials and tools. These parts come together to make a strong and useful device. Knowing what you need helps make the assembly easier and better.
Essential Components
The key parts for making a metal detector are:
- Arduino UNO
- 28 gauge Magnet Wire
- 1 Switch
- 1 Piezo Buzzer
- 2 x 10k Resistors
- 1 x 1.2k Resistor
- 2 x 100n Capacitors
- 2 x 22n Capacitors
- 1 BC547 Transistor
- 9-volt Battery
- Work Glove
The coil needs to be 6 inches in diameter. It’s made with about 30 wraps of magnet wire on a plywood base. This design helps the metal detector find things better.
Recommended Tools for Assembly
Having the right tools makes building the metal detector easier. You’ll need:
- Plywood
- Wood Glue
- Sandpaper
- Breadboard
- Female/Male Jumper Wires
- Male/Male Jumper Wires
- Protoboard
- Soldering Iron
- Solder
- Stranded Wire
- Wire Strippers
- Paint
These tools help you solder and attach parts well. This makes the metal detector stable and easy to use. Paying close attention to soldering and wire connections is key for a good device.
Designing the Circuit for Your Metal Detector
Building the electronic circuit for a metal detector is key to its success. This part will show you a simple circuit diagram for metal detectors. It will also explain the main parts and give tips for designing the circuit. Knowing these details can really boost your metal detector’s performance.
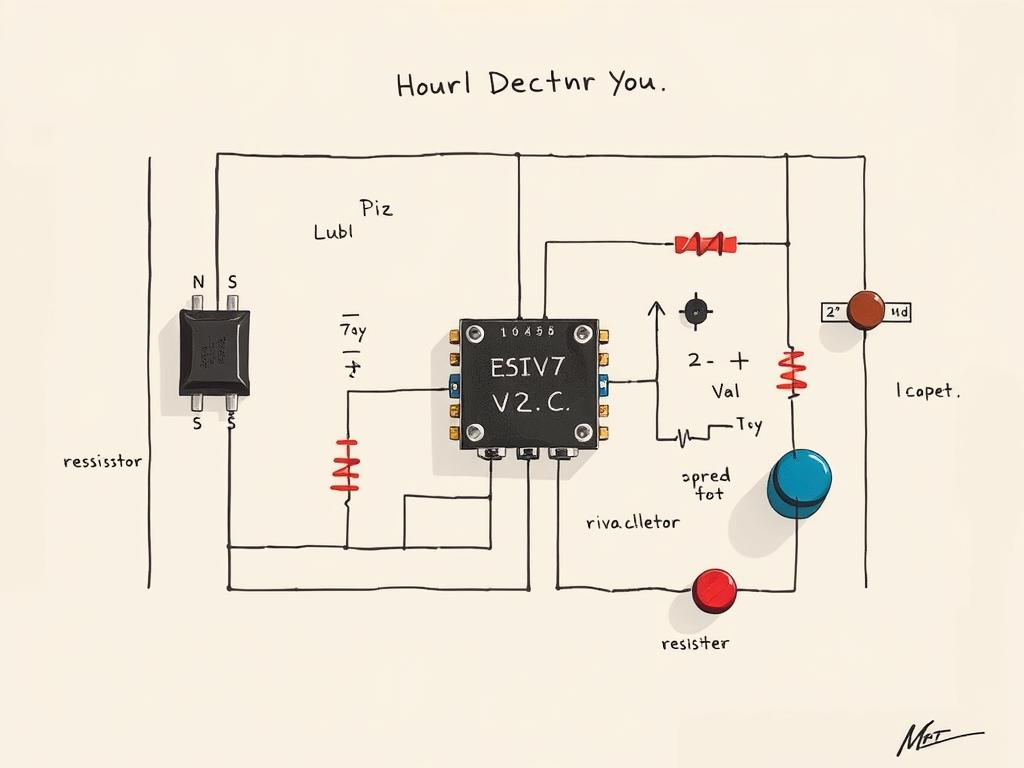
Basic Circuit Diagram
The basic circuit for metal detectors has important parts like a 2N2222A NPN transistor and a TDA0161 Proximity Detector IC. It also has resistors and capacitors. The circuit runs on two 9V batteries, which last long because it uses about 9 mA at 18 VDC. You can adjust the frequency with a capacitor (C6) to get a resonant frequency of 456 kHz when there’s no metal around.
Explanation of Circuit Components
Many key components in the circuit make the metal detector work. The main parts are:
- Inductors: These are hand-wound coils from copper wire, with 140 – 150 turns. They create a low-frequency AC bias.
- Resistors: There’s a 1 KΩ, 330 Ω, and 5 KΩ potentiometer. They help adjust the signal levels for better sensitivity.
- Transistors: The 2N2222A NPN transistor boosts the signal. This is important for finding small metal objects.
- Earphone: A ceramic earphone with a high impedance of 20 megohms acts as a low-pass filter. It gives clear audio feedback when metal is detected.
Tips for Circuit Design
Here are some tips for designing a metal detector circuit:
- Plan the layout well to avoid stray capacitance, which can hurt performance.
- Keep the design balanced. If it’s not, shortening the main shaft can improve weight distribution.
- Try different coil sizes and turns to find the best sensitivity.
- Make sure all connections are tight to avoid signal loss, especially in RCA cables and the earphone.
Creating the Search Coil
The search coil is the core of a metal detector. It needs to be made right for it to work well. Using the right materials and winding techniques is key. This makes the coil sensitive to different metals.
Material Selection for the Coil
Choosing the right wire is important for the coil. A 26 AWG wire is often used because it’s flexible and conducts well. It’s wrapped around a strong base, like a PVC medicine bottle, for 90 turns. The coil should be about 23.87 cm in diameter to improve sensor performance.
Coil Construction Steps
Building the coil requires careful steps for quality:
- Prepare the Base: Start with a PVC medicine bottle as the coil form.
- Wind the Wire: Wind 90 turns of 26 AWG wire around the bottle. Keep the turns close for better inductance.
- Secure the Coil: Use adhesive or tape to keep the ends in place, so it doesn’t come apart.
- Measure Inductance: After finishing, check the coil’s inductance with a meter. It should be between 150μH and 470μH.
When done right, the coil can detect coins up to three to four inches deep. Larger objects like metal pipes can be found even deeper. Adjusting the frequency can improve the coil’s performance.
Adding parts like resistors, capacitors, and transistors, along with the coil, sets up a good DIY metal detector. For more on picking the right transistors, click here. Below is a table with the key specs for building the coil:
| Component | Specifications |
|---|---|
| Wire Gauge | 26 AWG |
| Coil Turns | 90 turns |
| Coil Diameter | 23.87 cm |
| Inductance Range | 150μH to 470μH |
| Resistance | 0.25 to 2 ohms |
| Power Source | 9V Battery (2 in series) |
Assembling the Metal Detector
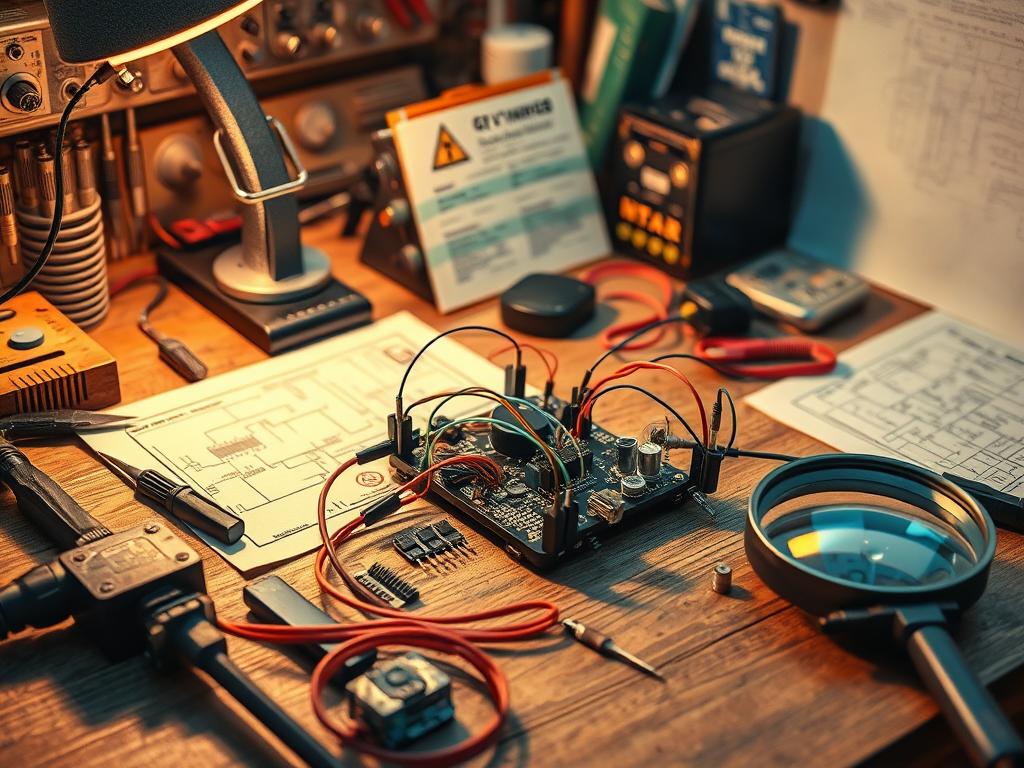
Building a DIY metal detector needs a step-by-step plan. This ensures all parts work well together. Knowing each part’s role is key to a metal detector’s success. Paying close attention during assembly boosts performance and reliability.
Steps to Assemble the Components
Start by gathering all parts from the kit. This includes transistors, capacitors, resistors, an LED, and more. Follow these steps:
- Identify and organize components: Collect transistors like the 9018 and 9012, and the required resistors and capacitors.
- Solder the components onto the PCB: Make sure transistors are placed correctly and connections are tight. You’ll need to solder a variable resistor (VR1), a 100µF capacitor, and a piezo buzzer.
- Assemble the coil track: Use 30 AWG copper wire to make the coil. Wind it into a circle, 5-6 cm in diameter, with about 140-150 turns.
- Connect the wire connector terminal: This is key for power flow in the circuit.
Ensuring Proper Connections
For the best performance, focus on making sure connections are right. Check solder points for stability and continuity. It’s important to connect all parts as shown in the circuit diagram. This avoids short circuits and ensures good signal reception.
Best Practices for Assembly
Using the right methods during assembly helps avoid problems. Here are some tips:
- Work in a clean, organized space to avoid losing parts.
- Use a magnifying glass to check solder joints and connections.
- Pay attention to component orientation to avoid mistakes.
- Take breaks if needed. Fatigue can cause you to miss important details.
Powering Your Metal Detector
Creating a reliable power supply is key for a homemade metal detector to work well. The right power setup can greatly improve its performance and life. This part will look at different power supply options and how they affect your DIY metal detector’s battery life.
Power Supply Options
There are many ways to power a metal detector. Many people use two 9V batteries together, making 18V. This gives strong power and keeps the device small. Here’s what you need for a good power supply:
- 9V battery (PP3)
- 9V connector
- Sufficient wire (22-gauge dual wire recommended)
Battery Life Considerations
Knowing how batteries last is important for DIY metal detectors. The 9012 and 9018 transistors help use power wisely. The battery life depends on how much power things use and how often. Here are some tips for better battery life:
- Check how much current things like transistors and coils use.
- Use capacitors to smooth out power changes.
- Put in a power switch to turn off the device when not in use.
Here’s a table showing different power setups and how long they might last:
| Configuration | Total Voltage | Estimated Battery Life (Hours) |
|---|---|---|
| Single 9V Battery | 9V | 3-5 |
| Two 9V Batteries in Series | 18V | 5-8 |
| Rechargeable 9V Battery | 9V | 4-6 |
Calibration of the Metal Detector
Calibration is key to making a metal detector work better. It helps users get more accurate results. This guide will show you how to calibrate your device and test it with different metals.
How to Calibrate Your Device
First, turn on your metal detector and make sure it’s working right. Then, follow these steps:
- Find a spot without any metal around.
- Slowly change the sensitivity settings and watch how it reacts.
- Move metal objects closer to the coil to test it.
The calibration process is mostly done by the Arduino code. It makes adjustments every 100 milliseconds. This keeps the device working well without needing you to do anything.
Testing Different Metals
Knowing how metals react with the detector helps you detect better. Here’s how to test different metals:
- Use metals like iron, gold, and aluminum for testing.
- Try moving the metal at different speeds by the coil.
- Use coils of slightly different sizes for better sensitivity.
Testing metals helps you improve your skills and set the detector right for each object. For more on building the device, check out this guide.
| Metal Type | Recommended Sensitivity Setting | Movement Speed |
|---|---|---|
| Iron | Medium | Slow |
| Gold | High | Medium |
| Aluminum | Medium | Fast |
Following these tips helps you calibrate your metal detector well. This way, you can find more metals accurately.
Troubleshooting Common Issues
When you face problems with a metal detector, troubleshooting is key. Knowing where to look for issues can save time and boost performance. Common problems often come from bad connections or faulty parts. Finding these issues is crucial for fixing them.
Identifying Circuit Problems
Many parts in a metal detector can affect how well it works. If you’re having trouble, here are ways to check if the circuit is okay:
- Check Connections: Make sure all wires and connections are tight. Loose ones can cause problems.
- Verify Signal Generation: Look at the oscillator circuit, which has a transistor, resistors, and capacitors. An oscilloscope can help see waveform problems.
- Examine Component Performance: Check the condition of resistors, capacitors, and transistors. Bad parts can really mess things up.
- Adjust Amplifier Gain: Changing the amplifier settings might help with signal strength, especially if the audio is weak.
Solving Sensitivity Issues
Fixing sensitivity problems is important for good detection. Here are ways to make your metal detector more sensitive:
- Capacitance Adjustment: Adding capacitors in series or parallel with the coil can improve sensitivity by changing how the circuit reacts to changes in inductance.
- Frequency Measurement: Measuring frequency changes can help find issues with inductance, which is key for tuning sensitivity.
- Experiment with Inductors: Trying different inductors can help find the best settings for sensitivity, making the detector more responsive.
Users have found that problems like interference from other devices can cause false positives. By following these steps, you can solve these issues and make your metal detector work better.
| Issue | Possible Cause | Solution |
|---|---|---|
| Weak Signal | Poor connections or low amplifier gain | Check connections and adjust gain |
| False Positives | Interference from other devices | Relocate away from electronic noise sources |
| Oscillator Not Functioning | Faulty transistor or capacitor | Test components and replace as necessary |
| Inconsistent Operation | Loose or damaged circuit connections | Inspect and secure all connections |
Enhancing Performance with Settings
Adjusting settings on a metal detector can make it work better. You need to tweak sensitivity and try out different signal processing methods. These steps are key to getting the most out of your metal detector.
Adjusting Sensitivity Levels
Changing the sensitivity of your metal detector is important. It affects how well it finds metal objects. You can adjust the sensitivity by changing the settings on the device. This helps the detector pick up on smaller or deeper targets without getting too many false signals.
- Start by setting the 100k ohm potentiometer to a medium level.
- Test the sensitivity on different metal types, adjusting as needed.
- Make sure the search coil is correctly wound and placed for the best results.
Signal Processing Techniques
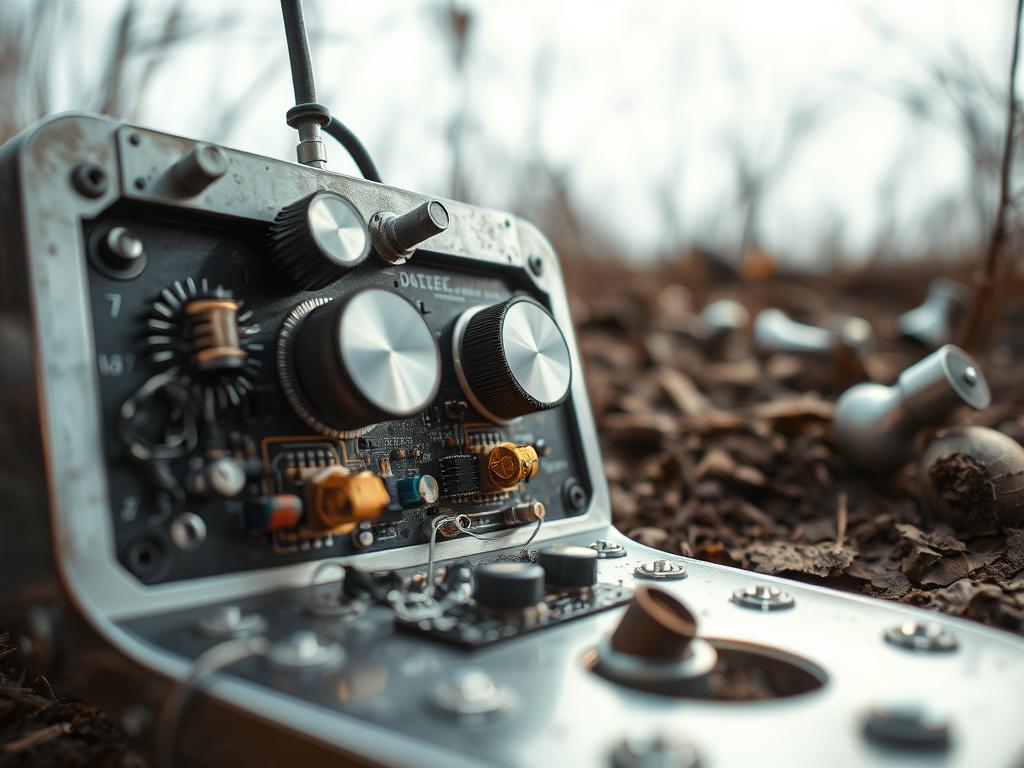
Using advanced signal processing can really boost your metal detector’s performance. Adding an operational amplifier (op-amp) to the circuit can make the signal stronger. It’s a good idea to use an oscilloscope to check if the signal is stable and strong enough.
Improving signal clarity can be done by adjusting the 555 Timer IC settings. This affects the frequency of the Tx coil, which should be between 400 Hz and 1000 Hz. Using a high-quality sine wave for the Tx coil can also improve detection accuracy. For even better results, try using different coil sizes or setups.
| Adjustment Type | Component | Effect |
|---|---|---|
| Sensitivity | 100k ohm Potentiometer | Improves response to smaller targets. |
| Signal Amplification | Operational Amplifier | Strengthens signal for clearer audio output. |
| Detection Frequency | 555 Timer IC | Affects the overall detection depth and response. |
| Signal Quality | Sine Wave Adjustments | Enhances detection accuracy and reduces interference. |
These settings and configurations are crucial for customizing metal detectors. For a detailed guide on building a metal detector, check out this guide. It covers the basics and offers practical tips.
Building a Control Box
Creating a metal detector control box is key to the project’s success. It affects how easy the device is to use and how well it works. This part will cover important parts of the control box design. We’ll look at making the control interface user-friendly and mounting components securely.
Designing the Control Interface
The control interface must be easy to use and get to. It should let users adjust settings like sensitivity and frequency with ease. Using rotary switches for frequency and potentiometers for volume makes things simpler. Important design points include:
- Controls should be placed for easy reach.
- Each function should have clear labels to avoid confusion.
- An LED indicator for power and detection alerts is helpful.
Mounting the Components
Mounting components in the control box is critical for performance and durability. Components need space to cool down, especially transistors and the power source. Good strategies include:
- Standoffs help keep components off the board and prevent shorts.
- Arrange components to cut down on wiring length, which reduces noise.
- Use zip ties and heat-shrink tubing to keep wiring tidy.
Choosing quality components is vital for the metal detector’s long life. For tips on picking the right transistors, check out this resource.
Adding Features to Your Metal Detector
Adding new features makes homemade metal detectors better. This part talks about how to add audio feedback and display options. These changes help users get more out of their detectors and fix any issues.
Incorporating Audio Feedback
Audio feedback is key for alerting users when they find something. A simple circuit with a speaker or headphones connected to the oscillator circuit works well. The 2SC1815Y transistors help make the sound clear.
Users can adjust the sensitivity with a potentiometer. This lets them fine-tune the audio based on the environment and what they’re looking for.
Display Options for Readings
Showing detection readings well is important. Users can pick between LED indicators and liquid crystal displays (LCDs). LEDs use blinking patterns to show how close a target is.
LCDs can display more details, like the average frequency and battery status. Adding these displays might need extra parts, like a microcontroller AT89C2051. It helps manage signals and adjust settings. For more on what you need, check out this guide.
Understanding Metal Detection Depth
Metal detection depth is key to finding buried objects. Many things affect how deep a metal detector can find items. Knowing these factors helps users get the best results.
Factors Affecting Detection Depth
Several important factors decide how deep a metal detector can find something:
- Coil Design: A 100mm coil with 12 to 20 turns and a 200kHz frequency boosts sensitivity for deeper finds.
- Signal Frequency: Higher frequencies are better for small items, while lower ones work better for big ones.
- Environmental Conditions: The ground’s mineral content and soil type can lower detection depth, especially in mineral-rich areas.
- Technology Type: Different technologies, like BFO and PI, have different limits in what they can detect.
Maximizing Detection Range
To improve metal detection depth, users can try a few things:
- Opt for Higher Quality Circuits: Choose advanced PI or VLF detectors over BFO for better accuracy and control.
- Optimize Coil Size: A bigger coil helps find things deeper, with 400mm coils reaching further.
- Adjust Settings: Adjust sensitivity and settings based on the environment for the best results.
- Regular Maintenance: Keep detectors in top shape and calibrated often to improve their performance.
Understanding these factors and using smart strategies is key to better detection. Knowing what affects metal detection depth helps users pick the right tools and settings for success.
Tips for Effective Metal Detecting
Want to get better at metal detecting? Follow these tips to improve your finds. Knowing where to search is key, just like knowing how to use your detector. Here are some best practices and top places to look.
Best Practices When Using Your Detector
To get the most out of your metal detector, keep these tips in mind:
- Keep a steady pace: Swing the detector evenly without rushing. This methodical movement allows the device to effectively scan the ground.
- Understand your detector’s settings: Familiarity with sensitivity adjustments can prevent false signals from interference.
- Listen carefully: Pay attention to audio cues; different tones can indicate the type or size of a metal object.
- Stay low: Keeping the search coil close to the ground enhances detection and minimizes the risk of missing buried items.
- Practice in controlled areas: Start in locations with known targets to gain confidence and skill before moving to more expansive grounds.
Locations to Search
Looking for the best places to search with your metal detector? Here are some top spots:
- Beaches: Sandy shores often yield lost jewelry, coins, and relics.
- Old battlefields: Historical areas might contain intact artifacts waiting to be uncovered.
- Playgrounds and parks: These family-oriented spaces frequently harbor lost coins and trinkets.
- Abandoned sites: Properties with historical significance often offer treasures from the past.
- Near water bodies: Lakeshores and riverbanks tend to accumulate items washed ashore.
By knowing where to search and following these tips, metal detecting becomes an exciting adventure. For more on electronics, check out projects using transistors.
Maintenance and Care of Your Metal Detector
Keeping your metal detector in top shape is key to its long life and best performance. Regular care stops many problems before they start. A set routine helps avoid breakdowns and boosts finding power.
Regular Maintenance Routines
To ensure your metal detector works well, follow these steps:
- Cleaning the Coil: Clear dirt and debris from the search coil and parts to keep detection strong.
- Checking Connections: Make sure all connections are tight and corrosion-free.
- Battery Maintenance: Always check the battery’s health. A 9V battery is common; swap it out when it’s low for steady power.
- Firmware Updates: Update the device’s software for better features and performance.
Troubleshooting Malfunctions
When your metal detector acts up, try these fixes:
- Detecting Signal Loss: If it’s not finding metals, check the search coil and connections. Damage or a bad coil might be the problem.
- Intermittent Buzzer Sounds: Odd buzzer beeps? Look at the diode (IN 4148) and other parts; they might be broken.
- Power Fluctuations: If it’s acting weird, check the battery’s voltage. A weak battery can mess with performance.
- Output Current Issues: The sensor should show 1mA when finding metal. A jump to 10mA means you’re close. Watch these numbers to see if it’s working right.
Real-Life Applications of Metal Detectors
Metal detectors are used in many ways, from fun hobbies to serious security work. They are important in many fields. This shows how versatile and useful metal detectors are in real life.
Hobbyist Use
Many people enjoy metal detecting as a hobby. They search for treasures, coins, and historical items. It’s exciting to explore places like parks and beaches.
- They look for valuable things like rings and jewelry.
- It’s a chance to learn about local history and geology.
- There are clubs and events for metal detecting enthusiasts.
With the right tools, hobbyist metal detecting is fun. It lets you learn about history while enjoying the outdoors.
Industrial and Security Applications
Metal detectors are key in keeping places safe, like airports and public buildings. They also help in industries where finding metal is important:
- Security Screening: They find weapons and banned items, keeping people safe.
- Product Quality Control: They check for metal in food and products, keeping consumers safe.
- Search and Recovery: They help find metal objects and historical items, aiding in research.
There are different metal detectors for different needs. They get better with new technology, becoming more sensitive and accurate.
| Application Type | Description | Examples |
|---|---|---|
| Hobbyist | Recreational searching for items | Coins, jewelry, artifacts |
| Security | Screening for weapons and contraband | Airports, events, public buildings |
| Industrial | Quality assurance and contamination detection | Food packaging, manufacturing processes |
| Geological Research | Finding buried metals for study | Archaeological digs, treasure hunting |
Conclusion and Next Steps
Building a metal detector from scratch is a unique project. It teaches you a lot about electronics and circuitry. You’ll need parts like transistors, capacitors, and coils to put it together.
It takes about 260 windings of copper wire to make the coil. This coil is key to finding metal objects. Even though it’s not for pros, it’s a great start for beginners.
Final Thoughts on Building Your Detector
Making your own metal detector is fun and teaches you a lot. It might not find small things well and needs tweaks often. But, it’s a chance to get creative and learn more.
People who make these detectors can try new things. They can make their designs better or find new ways to do things. This helps them learn more about metal detection.
Exploring Advanced Metal Detector Designs
If you want to try something more, there are many new ideas to explore. You can add cool features like digital signal processing. Or, you can use better materials to make it work better.
This keeps you interested in electronics and lets you come up with new ideas. It’s a way to make metal detectors better and more interesting.


